Table of Content
Before you drop a single dime, try these three simple tips to fix an unresponsive home button. Will ship within 5 business days of receiving cleared payment. The seller has specified an extended handling time for this item. Please allow additional time if international delivery is subject to customs processing.
Do not remove the display completely, or you will damage the data cables connecting the display near the top edge of the iPhone. Depending on your replacement part, you may need to remove the rubber gasket around your home button. Incorrect placement of these screws during reassembly will cause permanent damage to your iPhone's logic board. The iSclack is designed to safely open your iPhone just enough to separate the pieces, but not enough to damage the display cables.
Shipping Options
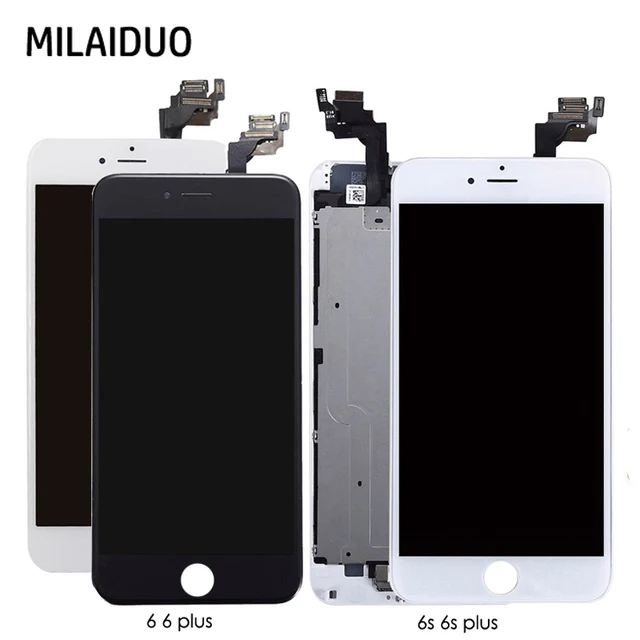
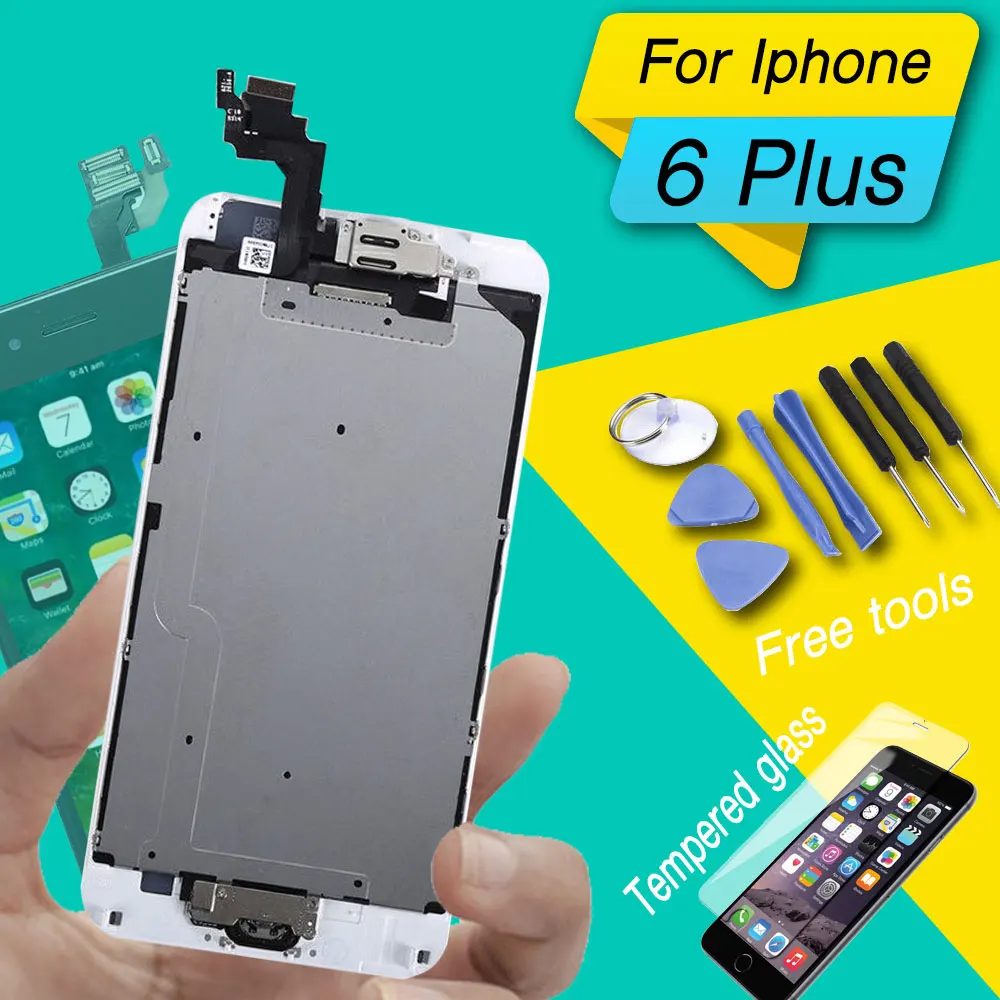
Ensuring your iPhone 6/6 Plus home button is properly fixed the first time for the right price, iPhone 6 repair service by CPR is the most reliable solution. To replace a broken home button for the iPhone 6/6 Plus, you will be spending $75.00 to ensure your phone is functioning like new. You may need to remove the rubber gasket around your home button depending on your replacement model. Using the point of the spudger tool, carefully separate the home button cable from the adhesive that’s securing it to the front panel. Make sure the battery is disconnected before you disconnect or reconnect the cable in this step.

If none of the recommended options worked and you’re willing to play doctor, investing in the right tools to resurrect your home button is necessary. Please note that only the iPhone 6/6 Plus’ original assembly will be able to use the Touch ID function. Installing a new home button will only restore normal home button functionality, and not the Touch ID features. When your Apple iPhone 6/6 Plus home button is not working, you’ll find yourself struggling to complete the simplest tasks. Apart from the iPhone screen, the home button is one of the most utilized components, so ensuring it’s functioning at all times is mandatory.
Battery Connector
I work at an Apple repair centre in based in the UK and we have recently encountered MAJOR issues with replacement home buttons. It turns out that home buttons are linked too the logic board on each handset due to the method in which Apple stores you biometric data. Due to this, to the greatest extent of our knowledge, any update will cause an ERROR 53 to occur. As of yet we have not be able to rescue a handset from this state.
Unique assembly kits do not exist for each particular phone generation. Follow the steps in this guide to replace the Home Button Assembly, including the gasket and cable, in your iPhone 6s Plus. Note that home buttons are paired with their respective logic board, so Touch ID will no longer work after you replace the Home Button Assembly. Use the point of a spudger to disconnect the home button cable connector by pushing it up and away from the home button.
For iPhone 5S Replacement LCD Touch Screen Display Digitizer Assembly White UK
Cases.There are many types of cases that have a built-in plastic covering that goes over the screen. Like the screen protector sheets this covering protects your iPhone screen avoiding the need for repair and replacement if dropped. Screen Protectors.These inexpensive adhesive sheets go onto the iPhone screen to reduce the need for screen replacement. Be careful to only pry up on the connector itself and not the socket on the logic board. During reassembly, it's critical to place this 3.0 mm screw in the top-right corner of the bracket.

Use a plastic opening tool to disconnect the digitizer cable by prying it straight up from its socket on the logic board. Use a plastic opening tool to disconnect the front-facing camera and sensor cable connector. Specifically, a digitizer converts analog signals into digital signals of your Apple iPhone. It interprets all of your actions from swiping to pressing into digital signals that the iPhone understands.
iPhone 6 Plus A1522 A1524 A1593 Digitizer LCD Replacement Touch Screen + Tools
If any body has any further knowledge it would be massively appreciated, as a community we need to get to the bottom of this before anybody had any major disasters. Will the short circuit damage the logic board or the camera / earpiece assembly? I'm worried just encountered this very issue even though the phone was off. Hold the iPhone firmly with one hand, and with the other, pull up on the suction cup to slowly separate the front panel assembly from the rear of the case.
To reassemble your device, follow these instructions in reverse order. Remove the home button bracket from the front panel assembly. Remove the two 1.8 mm Phillips screws securing the home button bracket to the front panel. During reassembly, align the clips just below the top edge of the rear case. Then, slide the front panel upward until its top edge is flush with that of the rear case.
Then, disconnect the display data cable connector using the same side of the spudger tool as before. Take care to only pry up on the battery connector, and not the socket on the logic board. If you pry up on the logic board socket, you may break the connector entirely.

Add a rubber band to keep the display securely in place while you work. The iSclack is designed to safely open your iPhone enough to separate the pieces, but not enough to damage any of the display cables. Place the bottom of your iPhone in between the suction cups. Pull up on the small nub on the suction cup to remove it from the display. Pull up on the suction cup with firm, constant pressure to create a slight gap between the front panel and rear case.
After reassembly, clean the touchscreen surface with an alcohol wipe prior to turning the iPhone back on. The alcohol helps dissipate any lingering static electricity, which can cause problems with the display. Do not attempt to insert longer screws into the red marked screw holes. Doing so may result in irreparable damage to the logic board. Pull the plastic nub to release the vacuum seal on the suction cup.


No comments:
Post a Comment